|
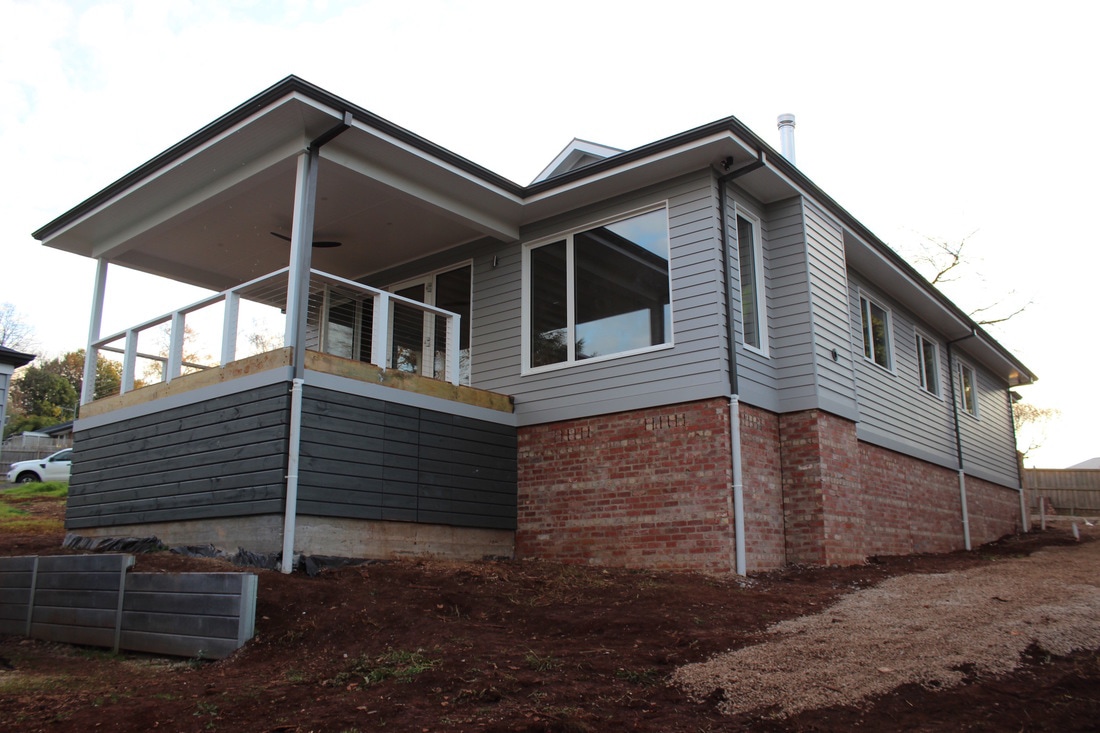
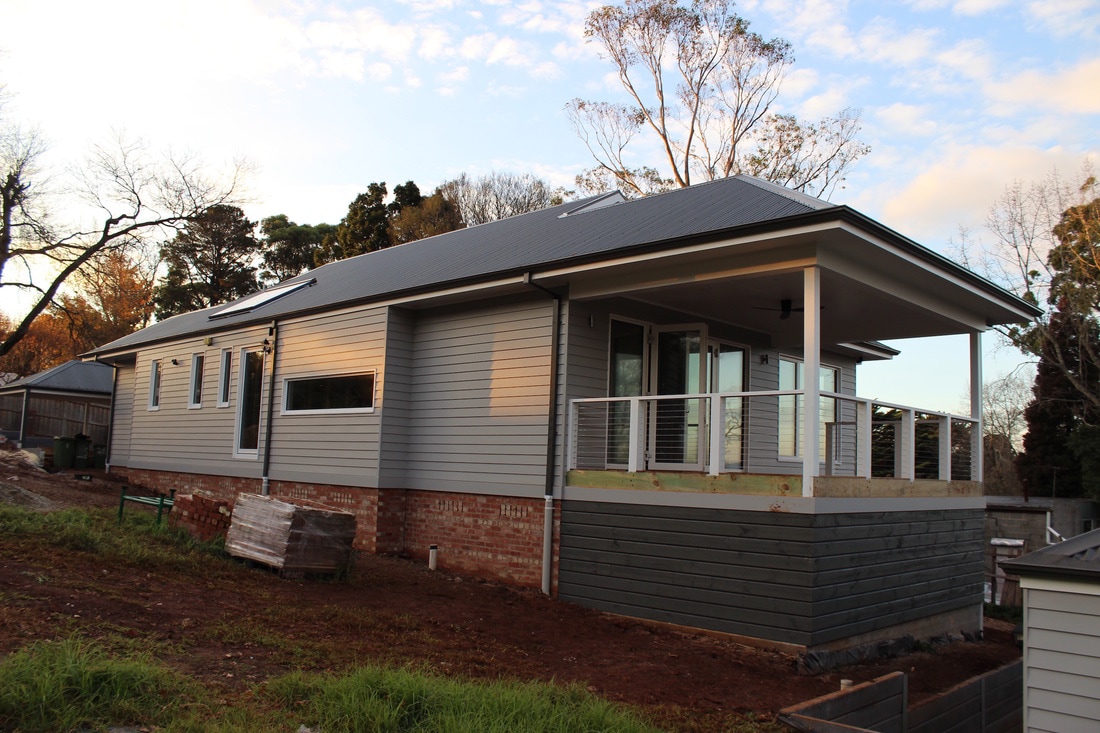
It's a wrap on a few fronts for us, our house is now officially Passive House standard air tight as we have finished the internal air tight wrap. It's a wrap on the finishing of the outside of the house, there are still bits and pieces to do but otherwise we think the house has come up a treat. Lastly, it is also a wrap and pack up of extension cords, tools and radios as the team head off to other jobs for the next few weeks. To begin with in the last 6 weeks the windows were installed and taped to the external wrap, 'picture frames' built around this which hid the tape and finished the traditional look of the house. All the weatherboards and pine lined eaves have been completed and painted. The front door we bought from Paarhammer was also installed. The great thing about the door was that Paarhammer can also do RAL colours (which is what the windows from German came in) so the door frame was able to match perfectly to the window frames. 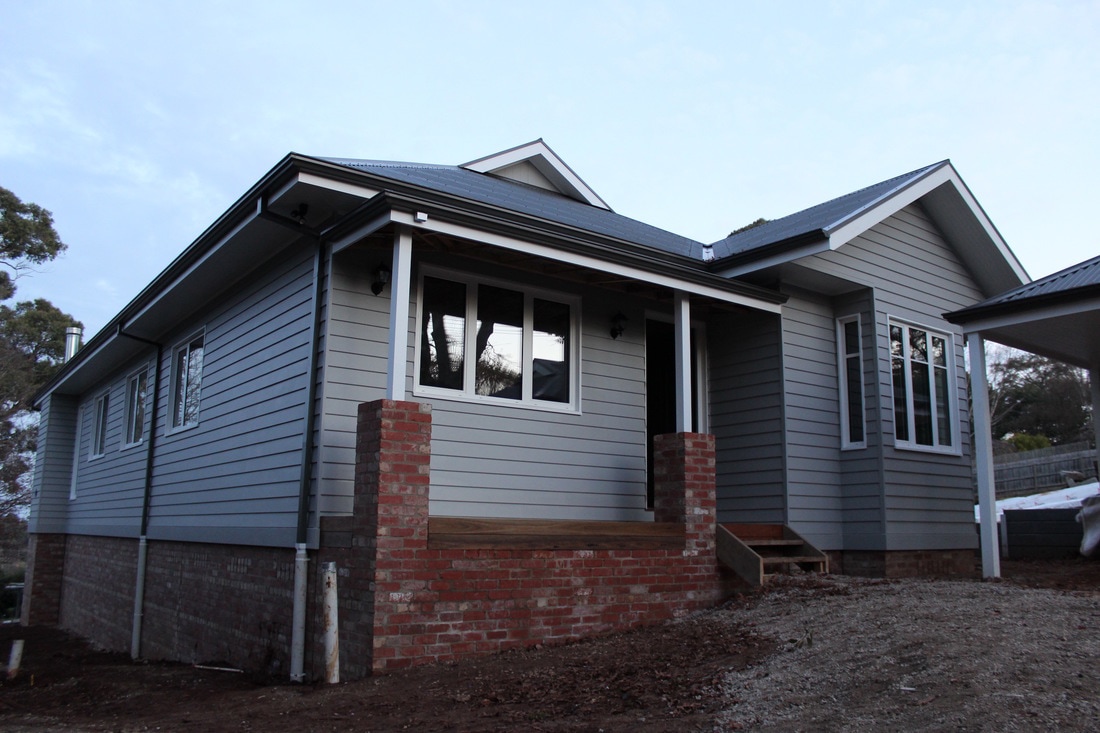
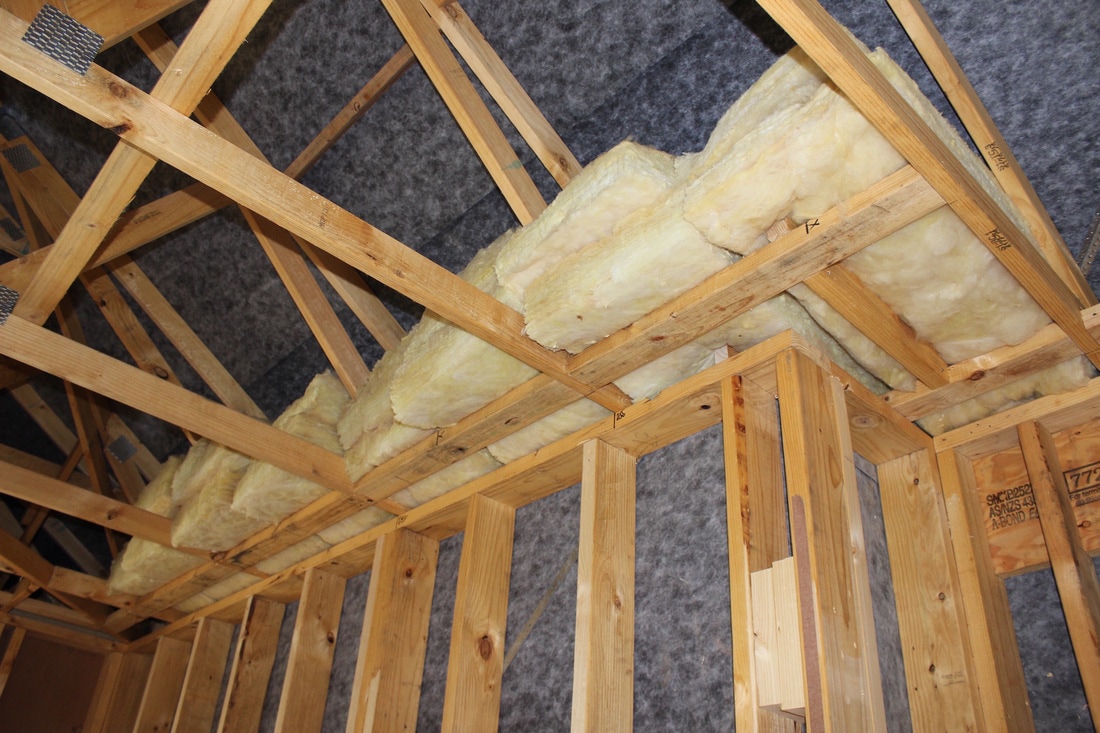
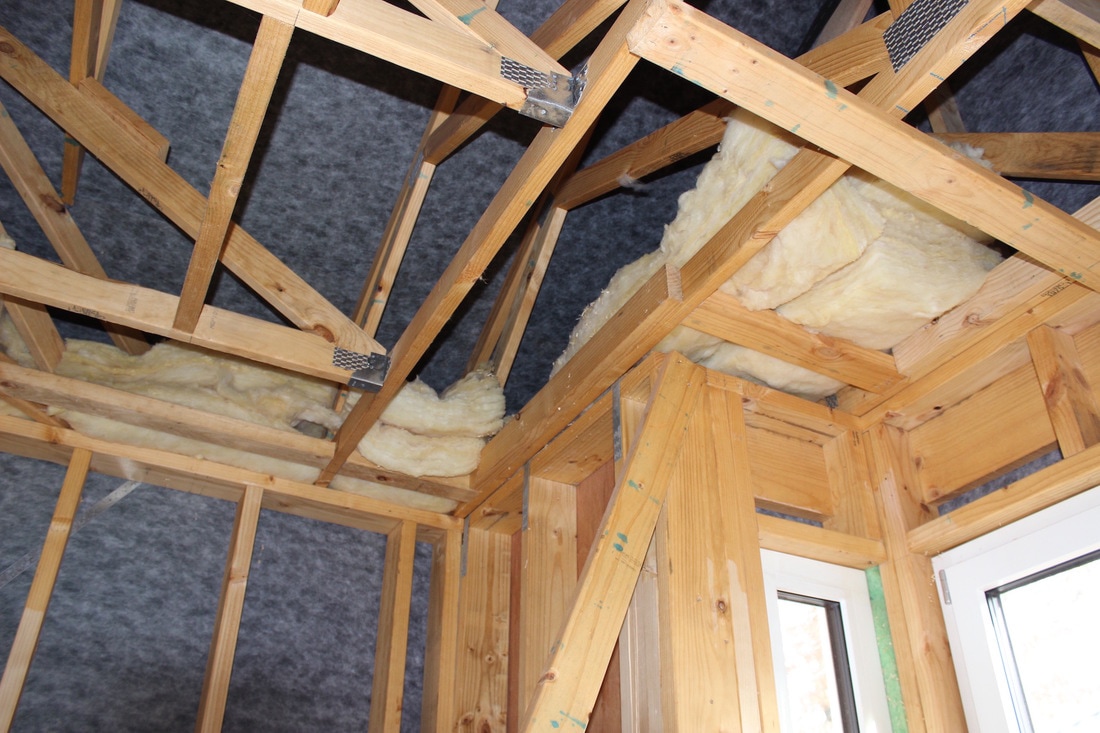
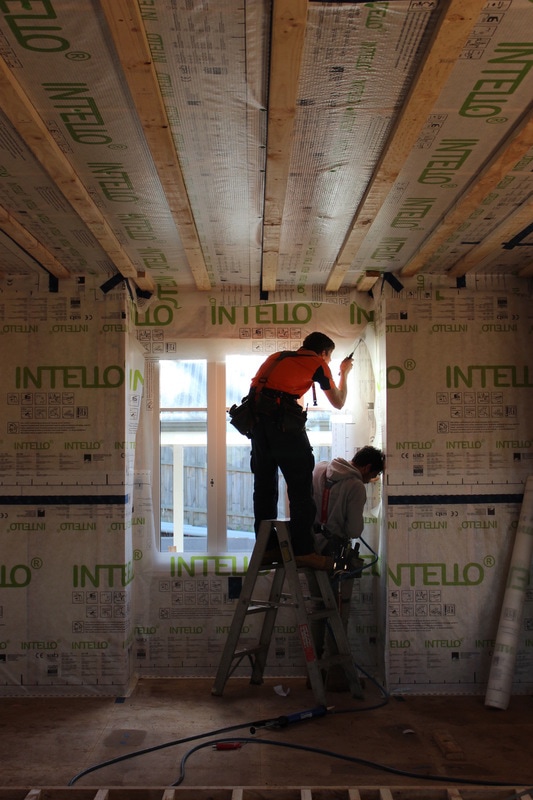
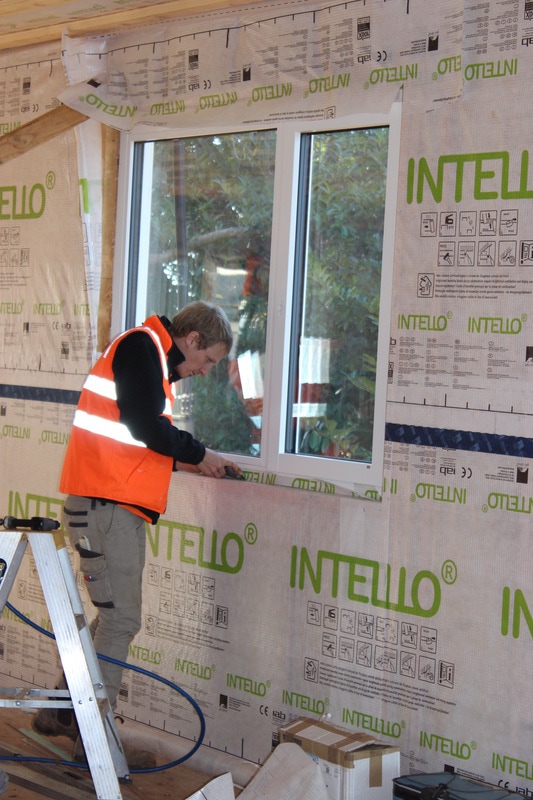
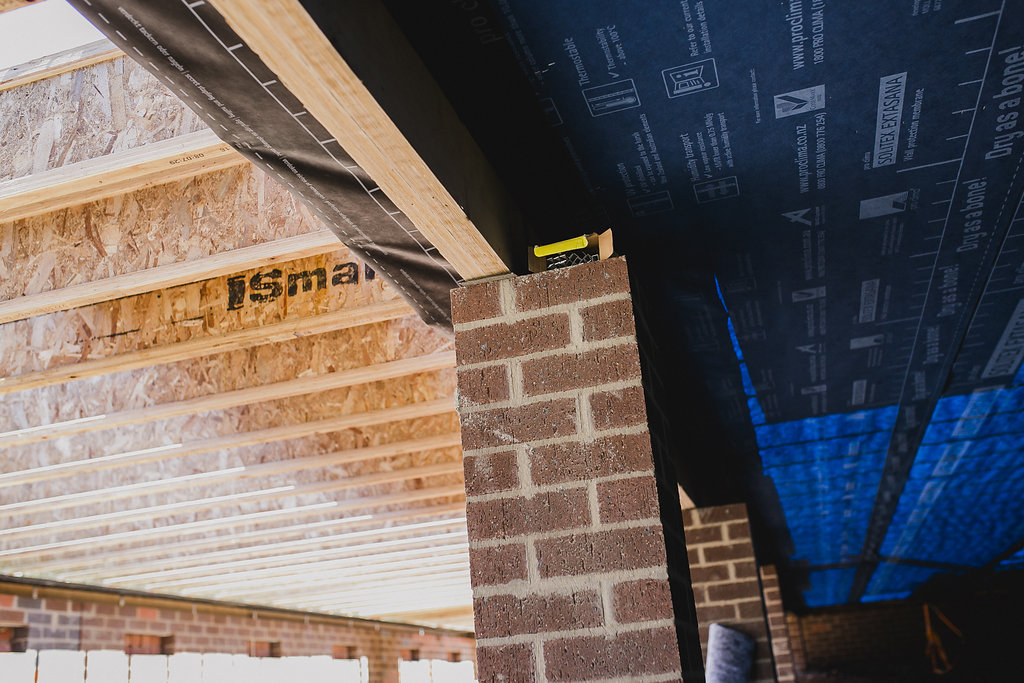
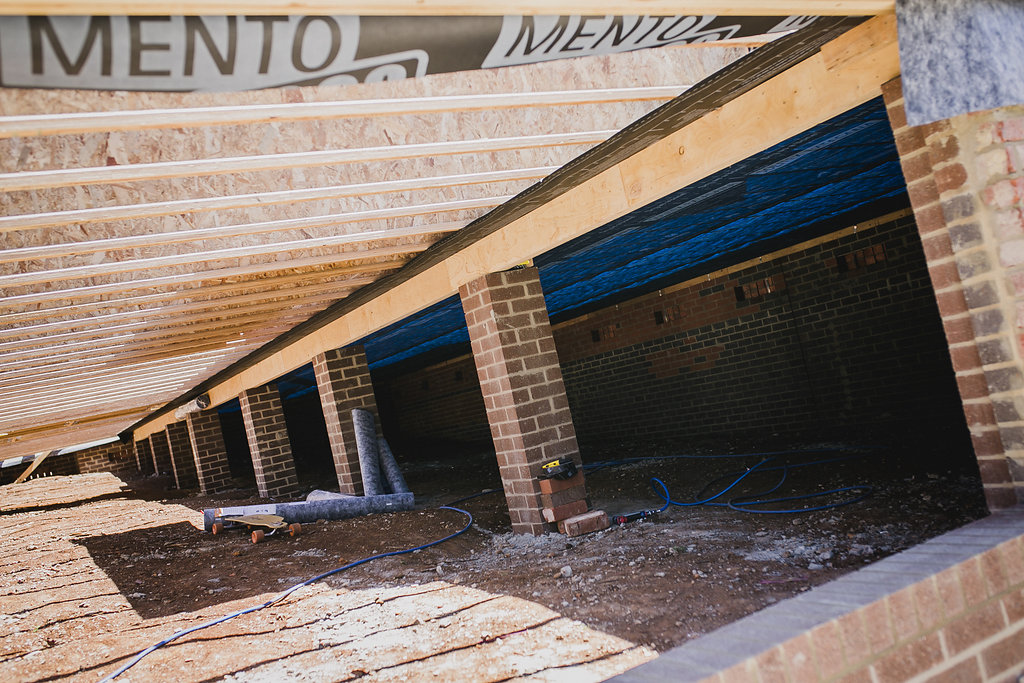
Next on the inside, the all important air tight wrap begun. Starting with the ceiling, the insulation was installed in the overhung section of the trusses. This is vitally important to make sure there are no thermal bridges. I've mentioned in the previous post, that I like to think of the insulation as a big warm feather down jacket. A thermal bridge in a house is like a feather down jacket with the zip open. Even less extreme a thermal bridge can be the difference between a thermal jacket with an exposed zip and a jacket that has the zip covered by an extra flap and buttons over the top of it. You can feel the cold air passing through the zip not covered compared to the one that has the extra layer of insulation over the top of it. Similarly for the passive house Devin had already planned how he was going to make sure that any joins between the wall frames and roof trusses were insulated to avoid thermal bridges. 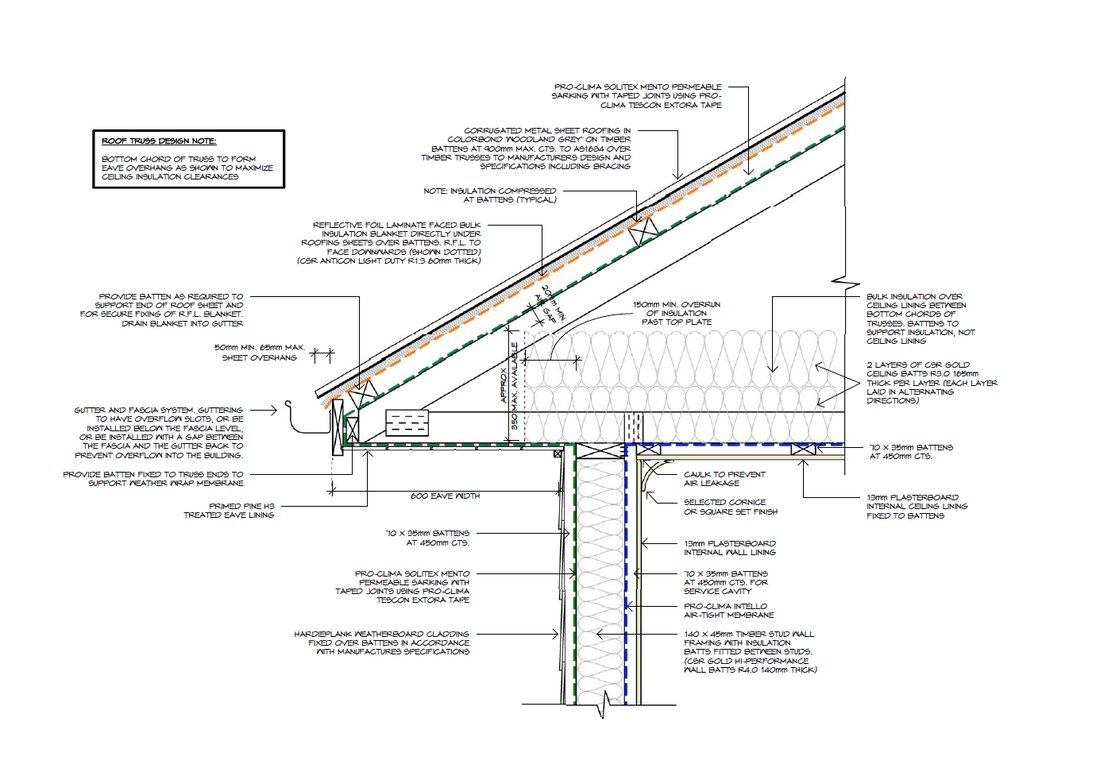 The above drawing section illustrated how the insulation worked in the roof space and the blue dotted line is the air tight wrap. The beauty of having no internal walls up was evident when the guys installed the air tight wrap to the ceiling, there were no wall junctions to navigate making it a quicker and more effective process. Timber battens were installed over the top of the wrap, again to act as a service cavity and for the plaster to be installed onto. 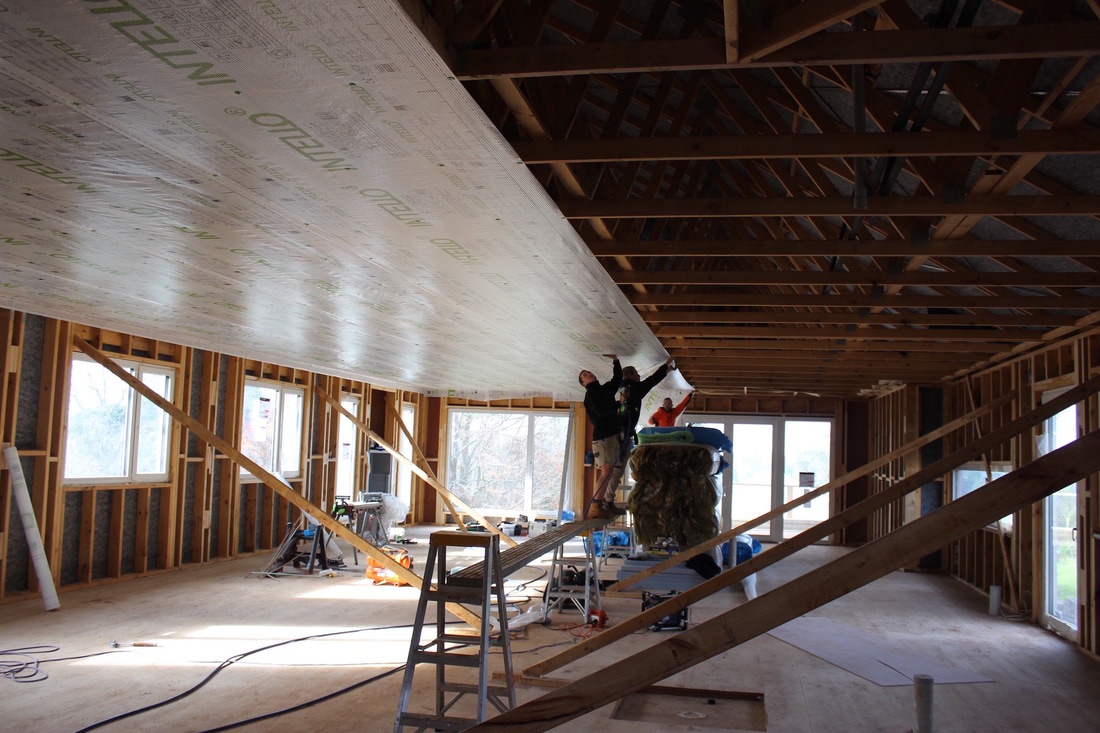 Next the walls, the insulation of R4 high performance batts took up the full 140mm space of the timber stud walls. The combination of the floor, walls and ceiling full of insulation is now what creates the beautiful thermal envelope. The air tight wrap on the walls was installed, around the windows an insulating expanding foam was used to make sure that the space between the frame and the windows were fully sealed, as this is another key area in which thermal bridges can occur There are of course a few penetrations through the envelope including plumbing pipes, the ventilation system outlets and electrical cable conduits. At each of these, specific ProClima seals were used so there are no gaps for air leakage around them. Devin even got a custom made man hole which is made with door seals and a spring latch to minimise air leakages through this area. 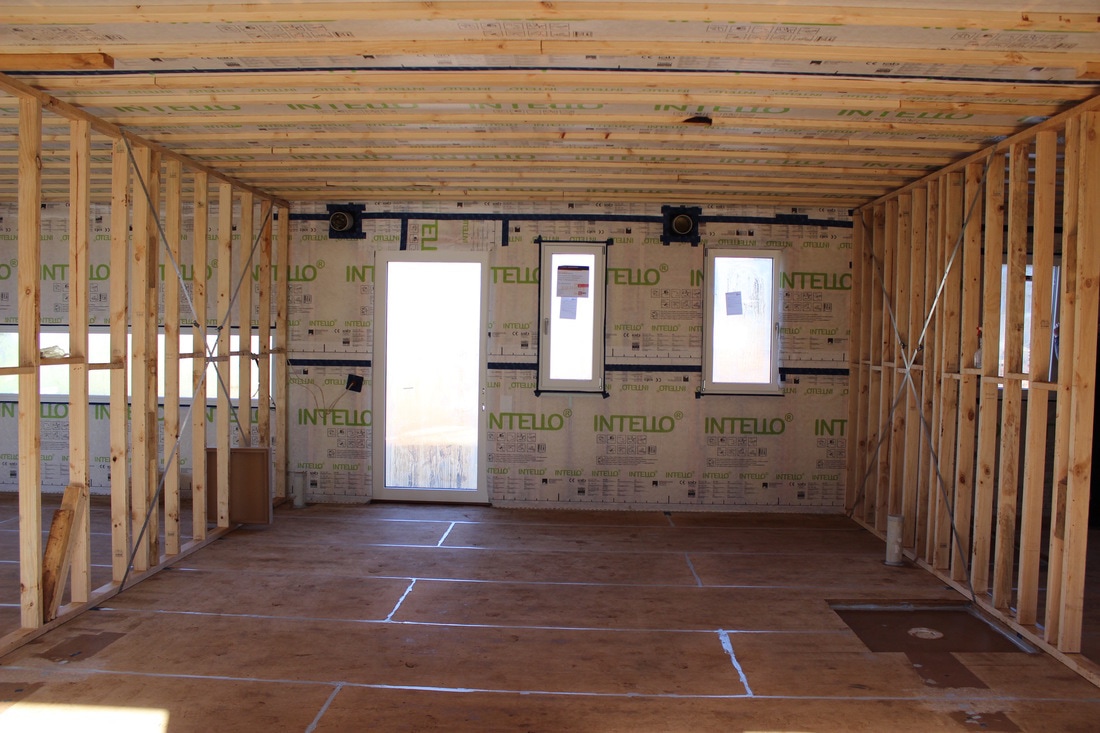 The taping of the wrap to the window frames was one of the most tedious and labour intensive jobs on the house, however the saying good things take time comes to mind as the taping is crucial to achieve the air tightness required. We also used Orcon by Pro Clima to seal the wrap to the yellow tongue flooring. 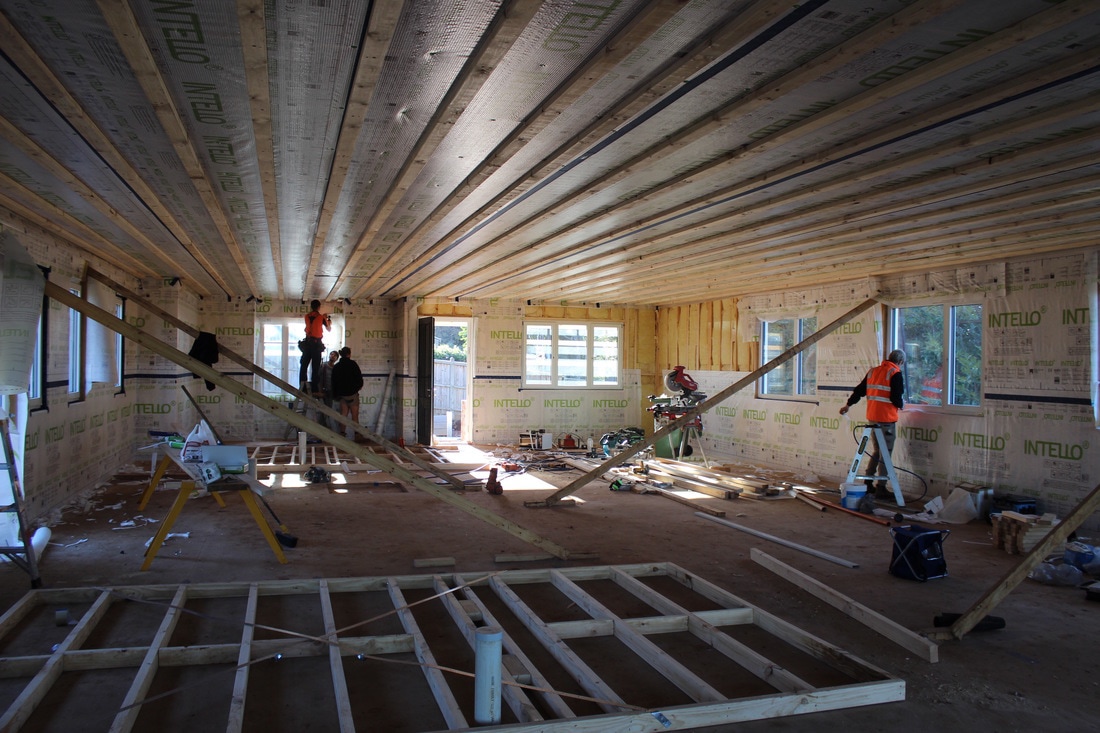
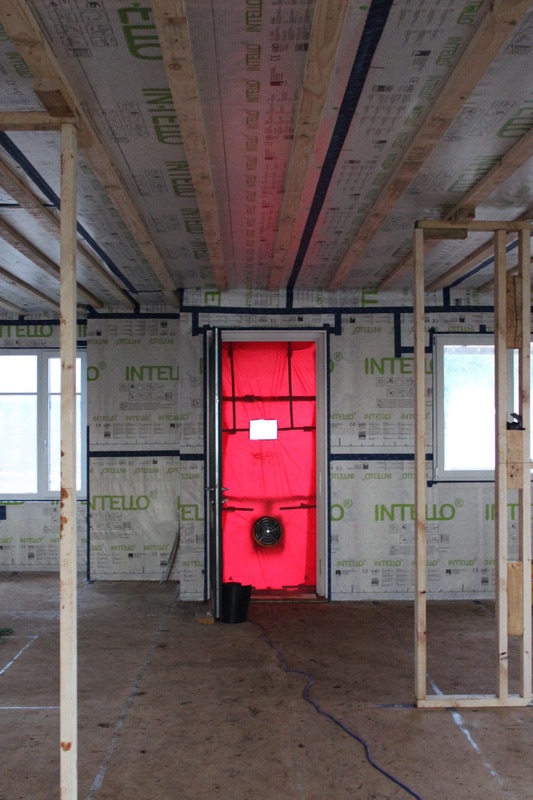
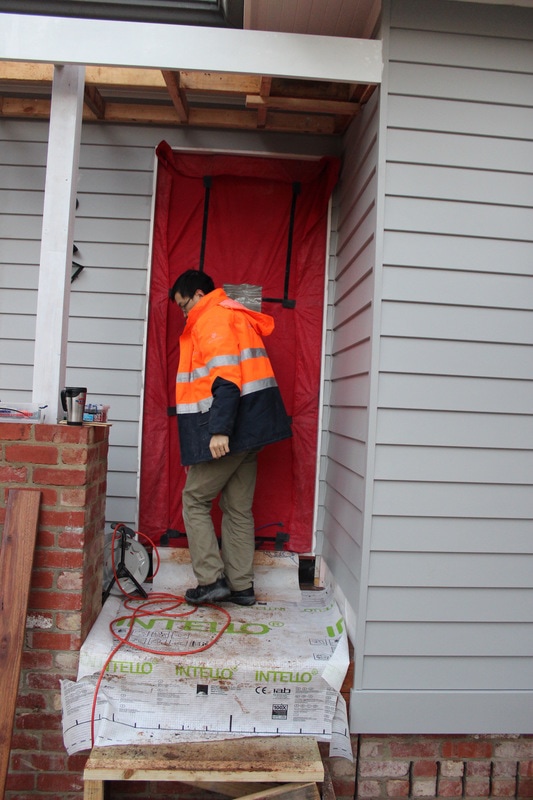
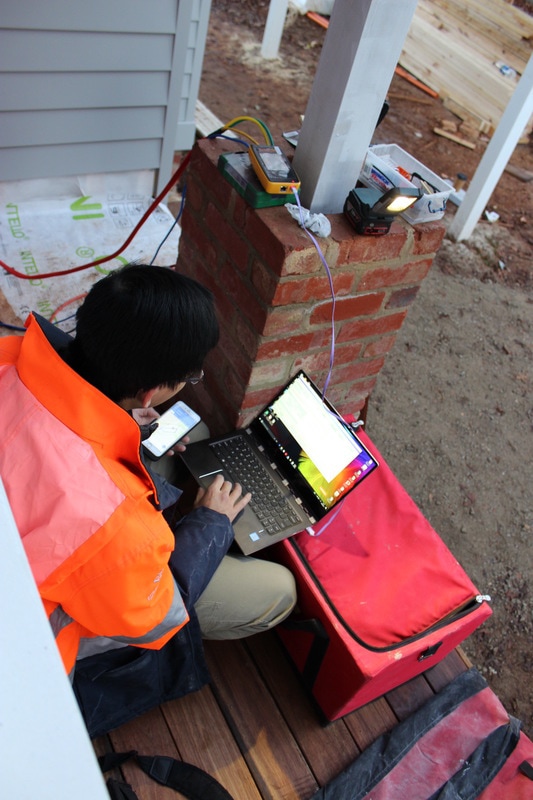
Lastly, all the joins in the flooring were filled with polyurethane to seal any air leaks. We have also been able to put up some internal walls now that the air tight wrap is complete. so it is starting to feel like a home. 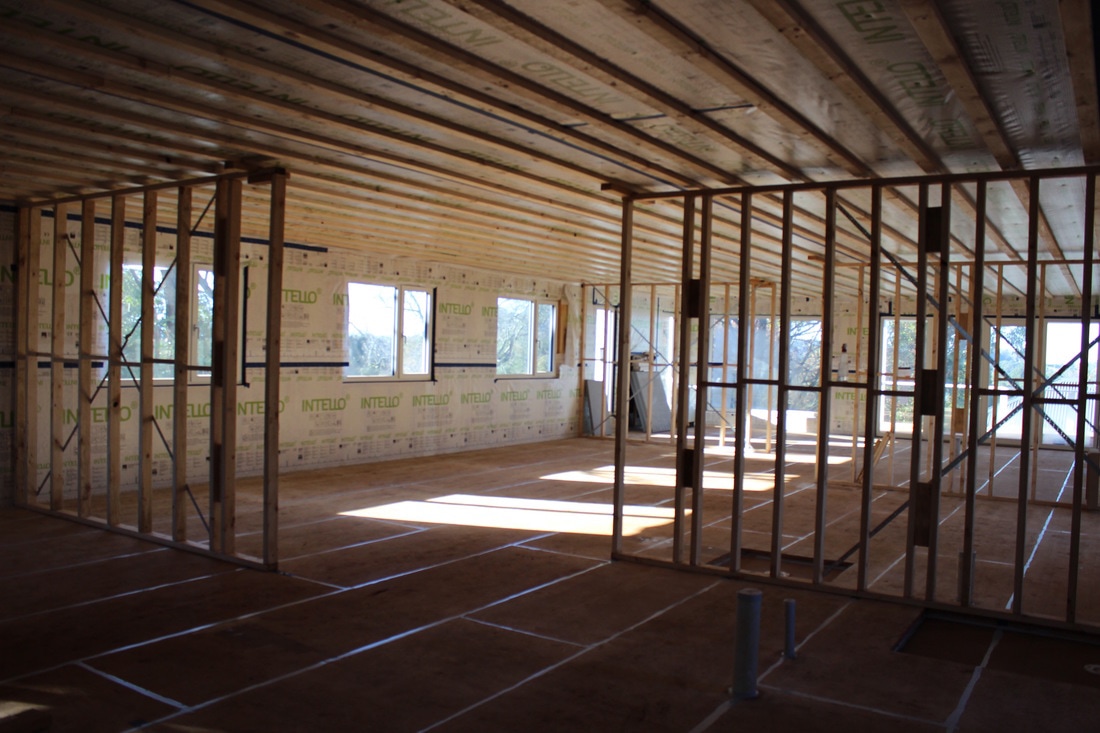 Just yesterday we had our first blower door test! There were a few nervous guys onsite who had spent the last 2 weeks with tape, wrap and seals as best friends. Devin even had a nightmare the night before the test, that he couldn't find anymore tape onsite to fix some air leaks, he woke up with his bedside table all emptied out trying to look for the tape in his sleep! To achieve Passive House certification the house cannot have more than 0.6 air changes per hour (ACH). To help me visualise this, a passive house of this size (20 squares) cannot let more combined air out than the size of a business card. A standard new 6 star energy house could have between 10.0 -20.0 ACH, which would be like leaving the front door open with the amount of air continually escaping/changing in the house. Joseph from Efficiency Matrix conducted the test, in which he uses a tent like seal with a fan in it on the front door frame, a blue hose laid out inside to measure pressure and a computer program. The house is pumped full of air, so much so that we could could see the wrap pushed back against the wall frames and trusses. It turns out that Devin's bad dream was just that, because on the first test we achieved .36 ACH. Certification here we come! 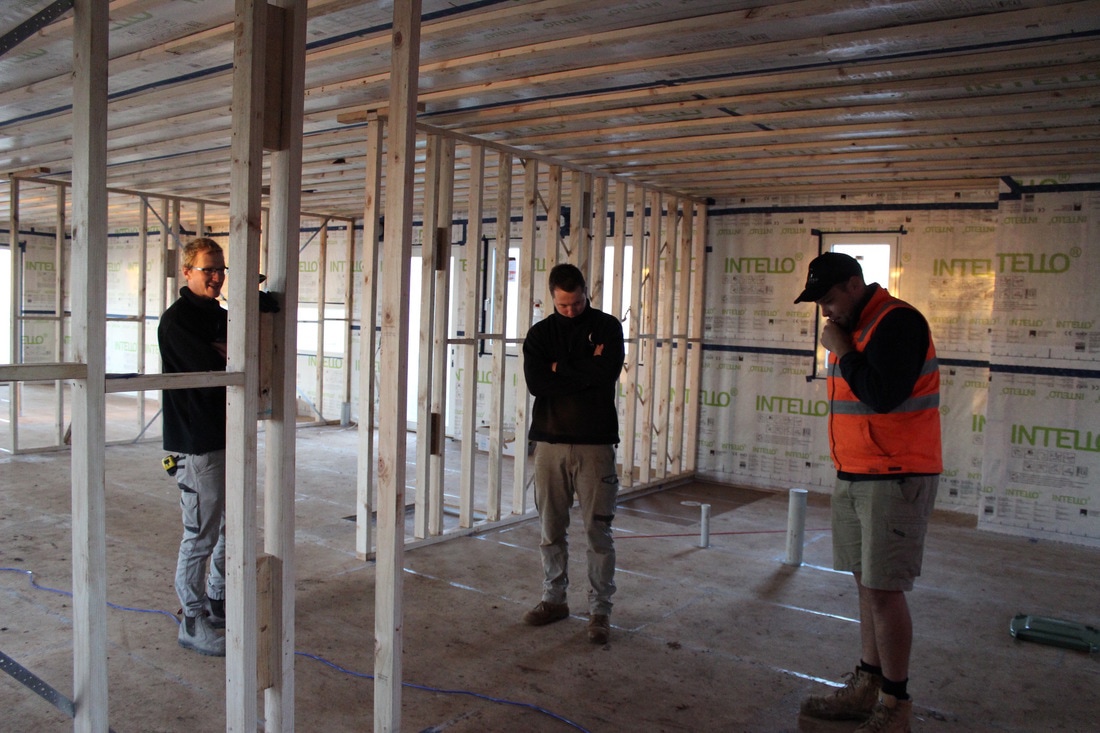
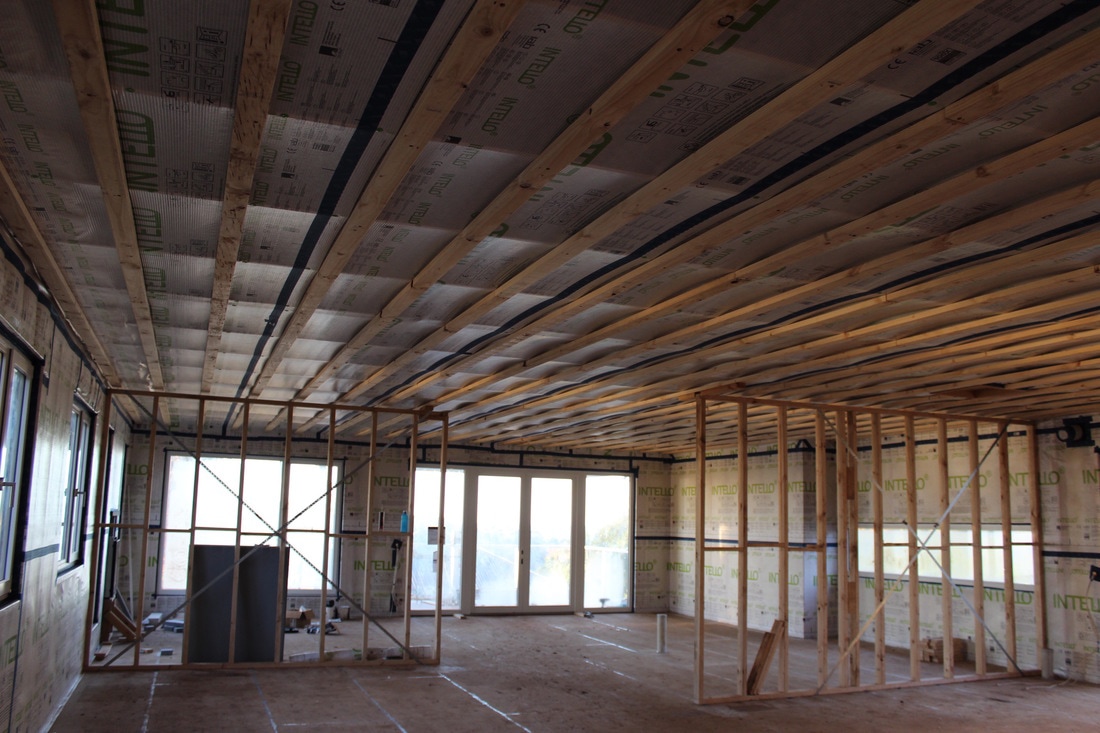 During the pressure test, you can see the wrap being pressed up against the roof trusses
5 Comments
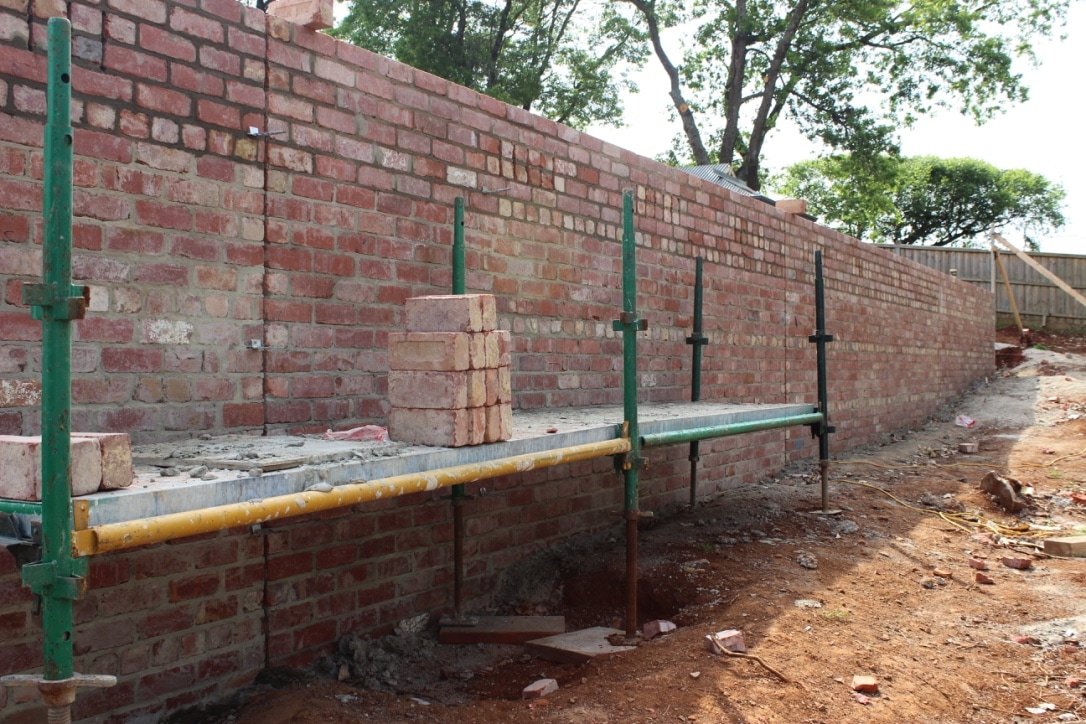
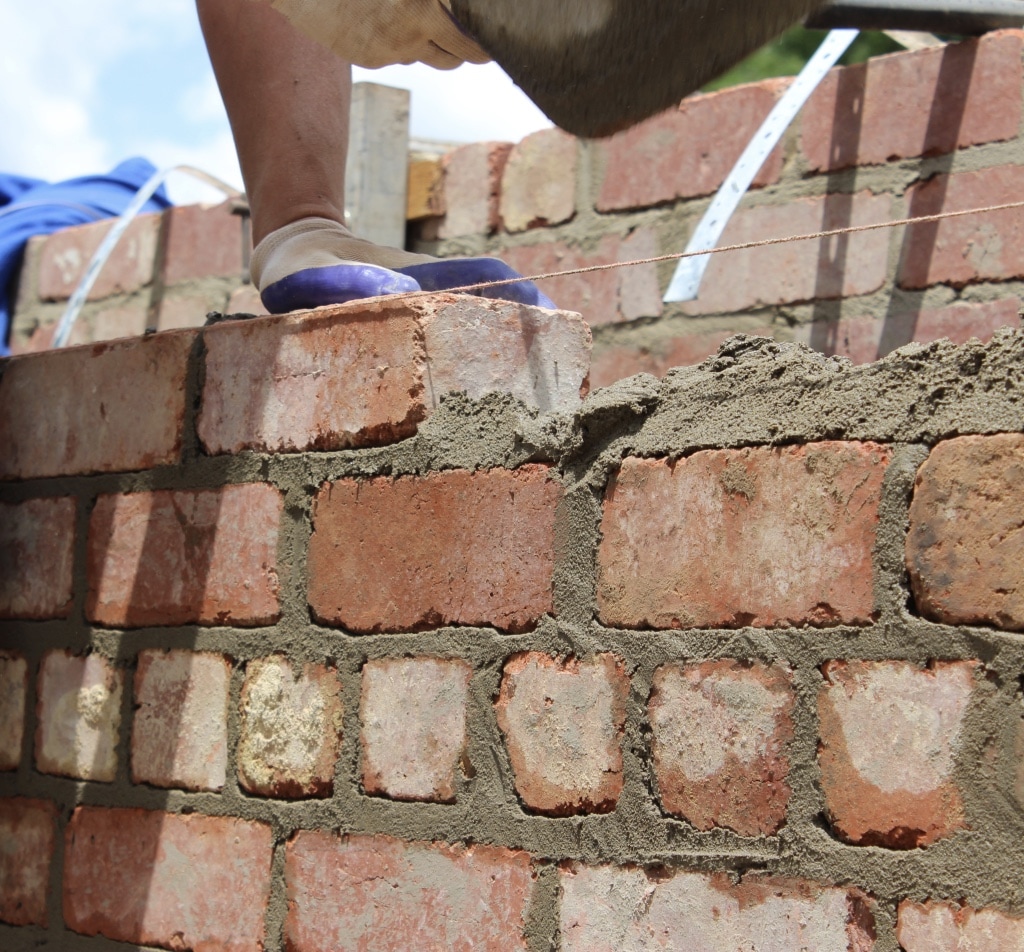
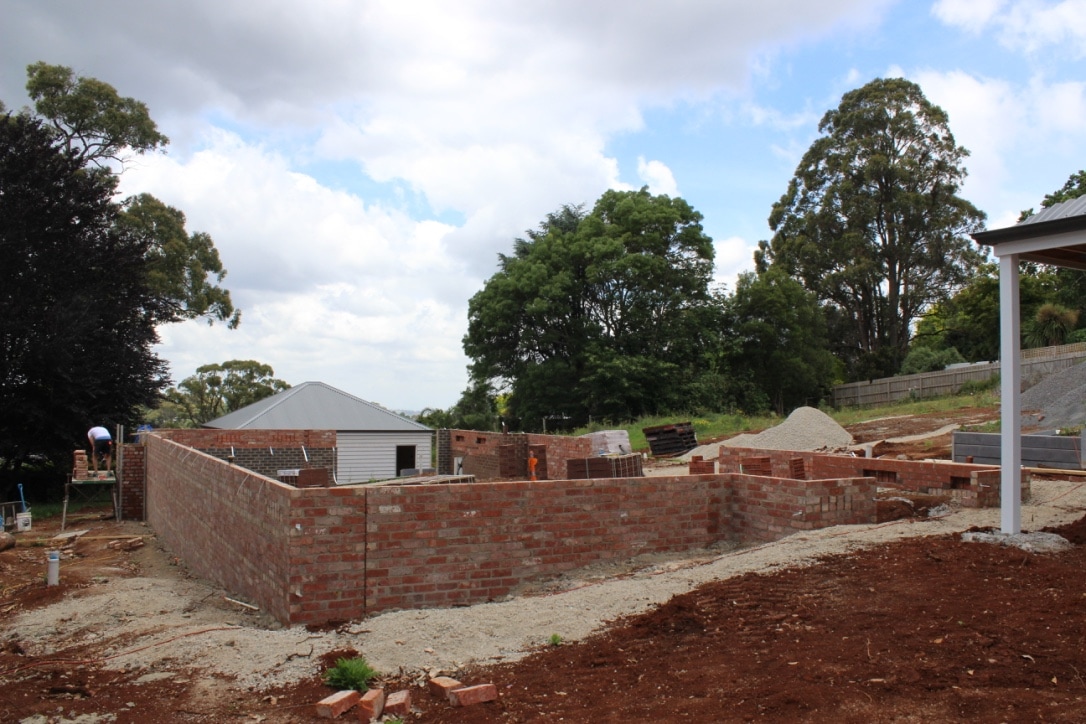
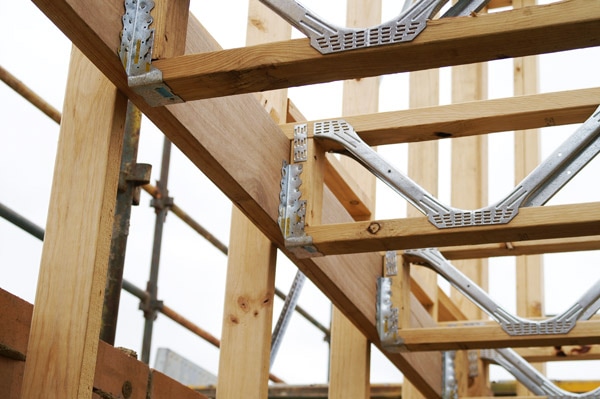
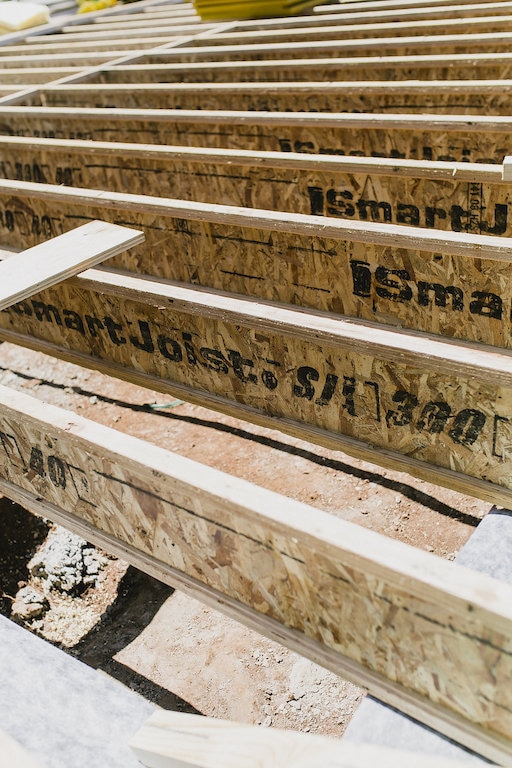
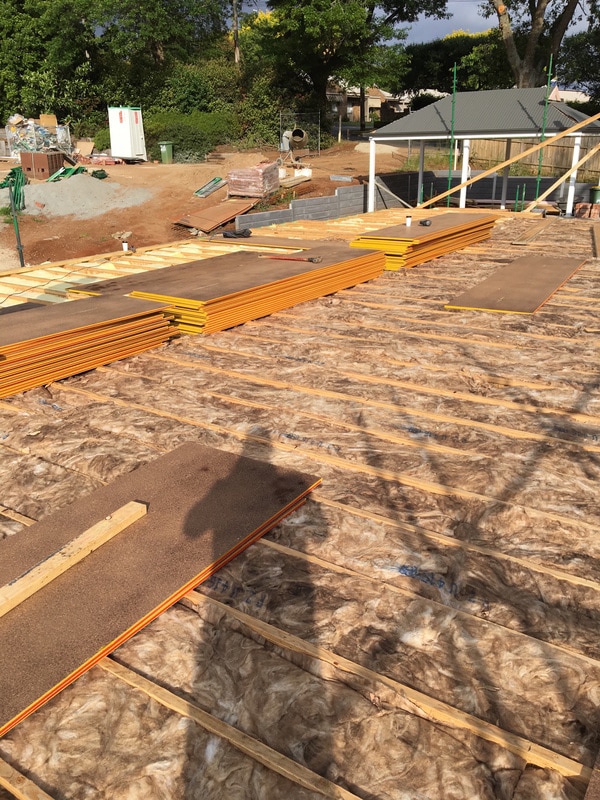
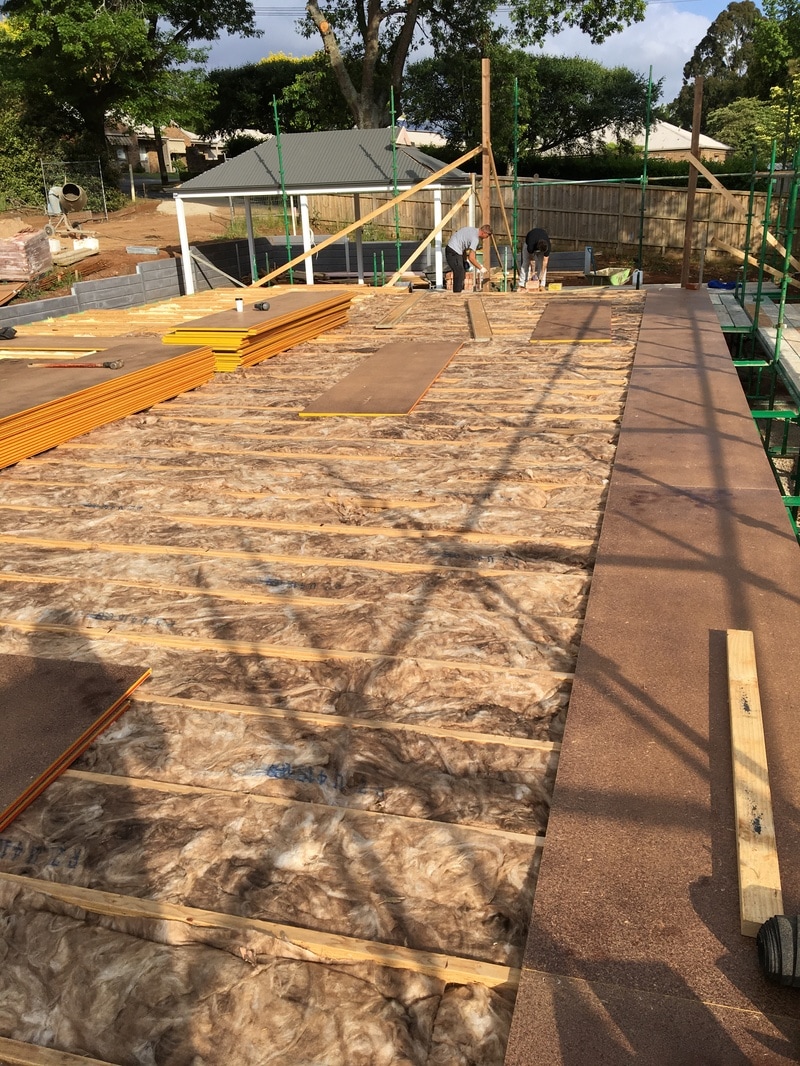
Our Passive House has risen up out of the ground and we now have a very well insulated, wind tight sub-floor to walk on. Due to the slope of the block and to capture the views our floor was built on a brick subfloor. We used nearly 10,000 bricks as the subfloor is double brick, using recycled red bricks from EcoGroup on the outside skin with every 6th course an 'engaged/half' brick to give a bit more character. We used second bricks for the iniside skin and for the piers down the middle of the house as theses are not seen. We are very happy with the results and it was well worth the wait. 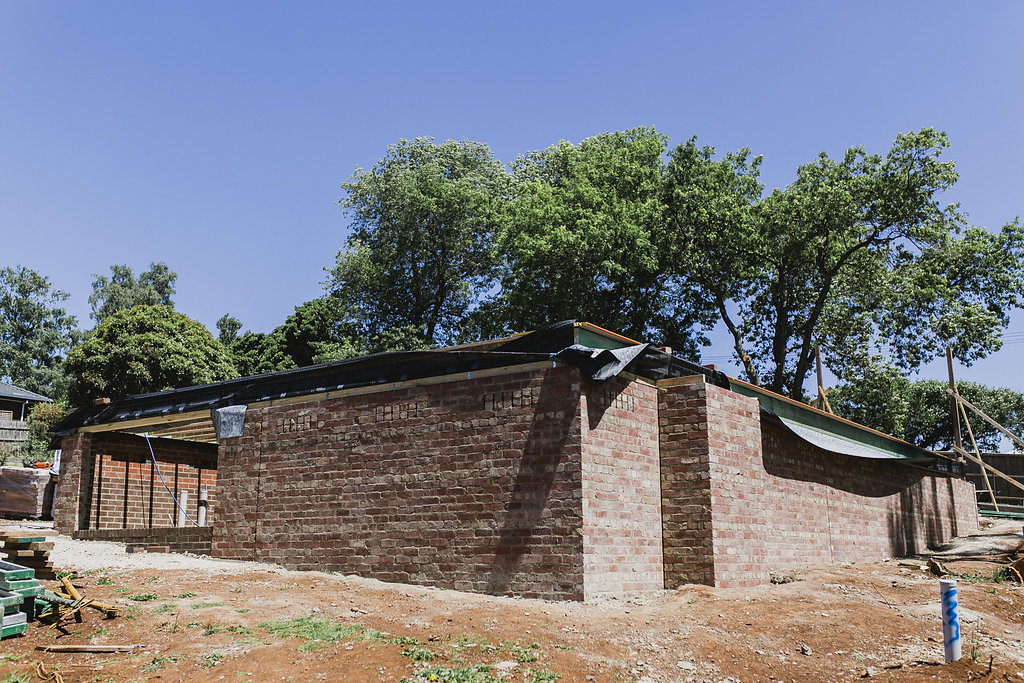 Now we can finally start with some Passive House elements! The first Passive House detail to consider is the type of floor joists. To complete the sub floor, Devin used 'smart joists', which are made from engineered timber to span across the width of the house. He wanted to use the smart joists for 2 primary reasons: 1. The depth of the joists are 300mm enabling enough space for our insulation 2. There is no metal webbing which could restrict and leave potential gaps the insulation Below are photos of 3 methods of building a subfloor. On the left is a metal webbed posi truss, as you can it would be tedious to put the insulation in between the metal webs and therefore it would be more likely that there would be gaps in the insulation. In the middle is an example of a 90mm joist sitting on a bearer. This would have not given us enough room to fit all the insulation we need. On the right is a photo of the smart joists at our house. This is the best design for us as it allows the insulation to be laid uninhibited by steel webbing, and gave us enough depth to pack it full of insulation. As per our Passive House assessment, to achieve certification we needed an insulation value of R6.0 An R-Value tells us how well a material resists or allows heat to flow through it. The higher the R-Value the less it lets the heat pass through it (i.e. the better at insulating an area it is). We installed 3 insulation batts, 2 x R3.0-value and an additional layer of R2.0 ( because we had the space left in the joists and there is no negative impact by having more). This gave us a total insulation value of R8.0. In comparison a 6 star energy rated new home would only need an R-value of 1.5. Of all the elements of a Passive House, better insulation is one of the easiest and most cost effective to achieve. Every new house already has to include insulation, so this is not a new element to the construction unlike the air tightness element. Also it is not that much more expensive to bulk up the insulation, provided you have the space in the walls, floor and roof to do so. 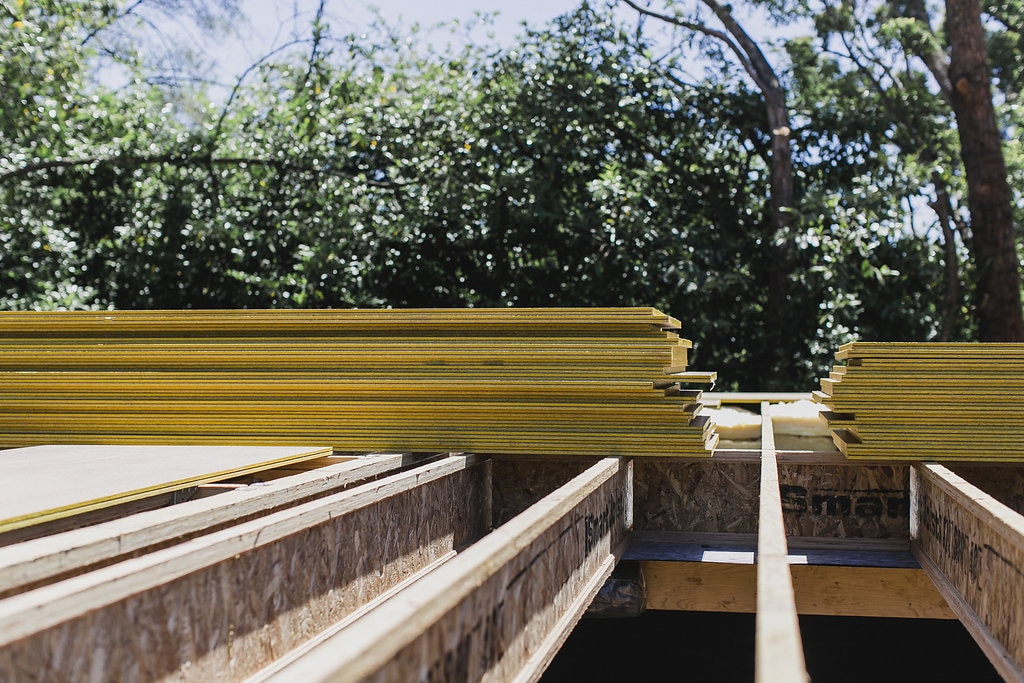 The final component of the sub floor is the wind and air tightness I once heard someone say that Australian houses are like glorified tents with the amount of drafts and air that passes through them. One of the criteria to achieve a Passive House is that the house needs to be air tight and this is no small feat. I'll explain more about achieving airtightness in a later post, however for now my analogy would be that we need to have no more than the air in a ping pong ball escape the house, compared to the average Australian home releasing the amount of air that would be held in a hot air balloon. Because our house is sitting on a sub-floor, we have a dual pronged approach to achieve air-tightness in the floor. We have a 'wind-tight' wrap under the joists and then an 'air-tight' layer which will be the red-tongue flooring (a commercial grade of the more commonly used yellow-tongue flooring) on top of the joist. The wind tight wrap and the tape used to tape up the joins is from Pro Clima. In the below section drawing of the floor, the green dotted line represents our wind tight layer, wrapping under the joists and the air tight layer is the red-tongue flooring. 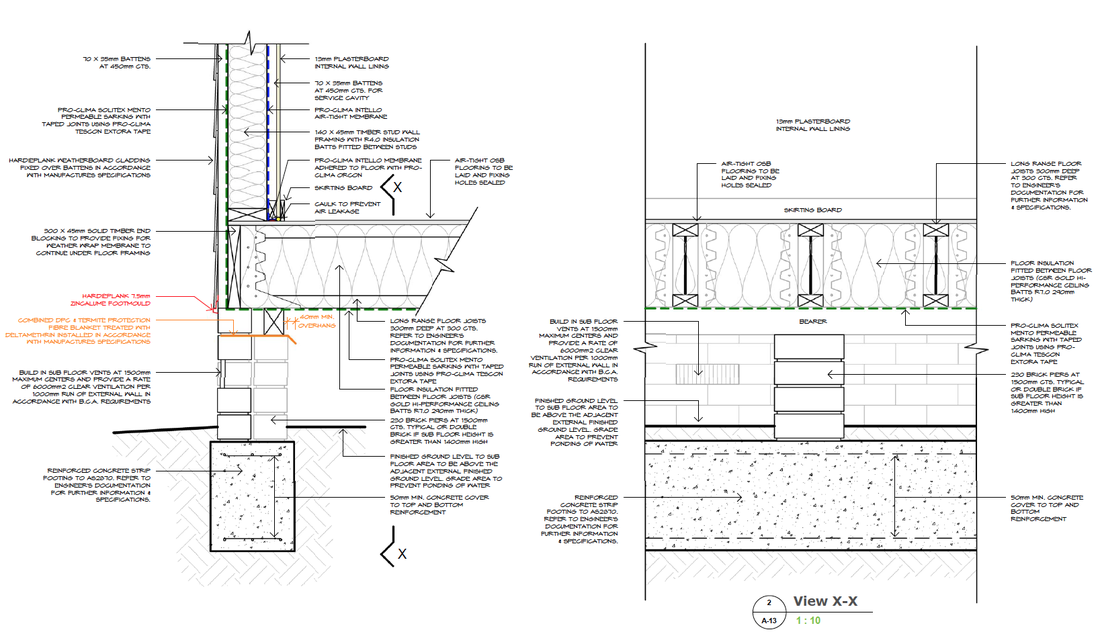 In the below photos you can see the drawings come to life. When we come to getting the house pressure tested to find out how air tight it is, all of the joins and nail holes in the red tongue floor will be taped up. 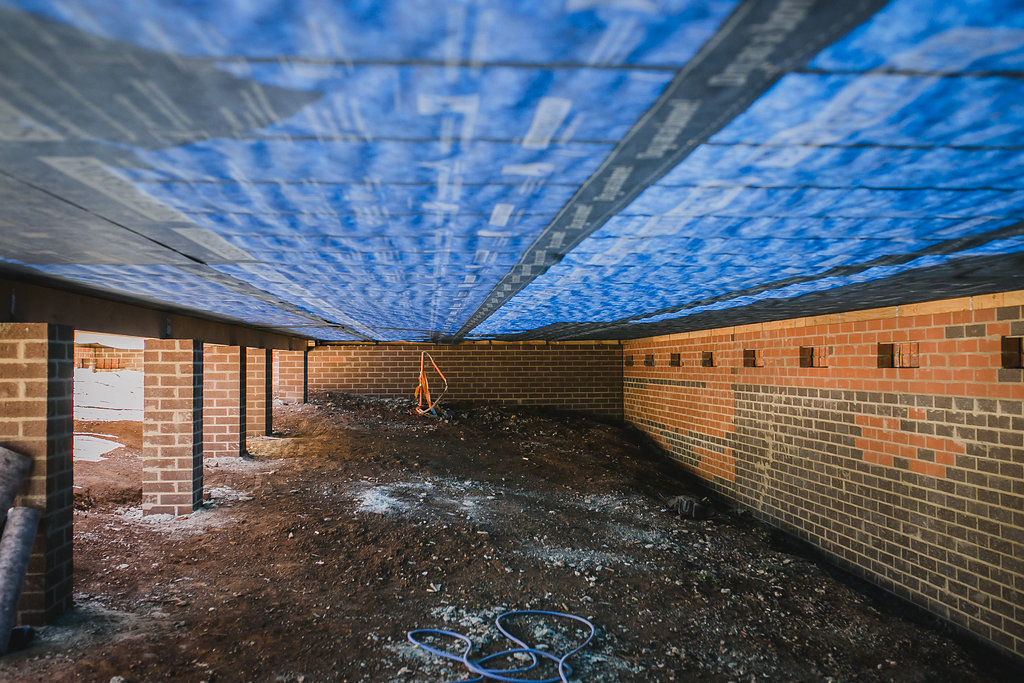 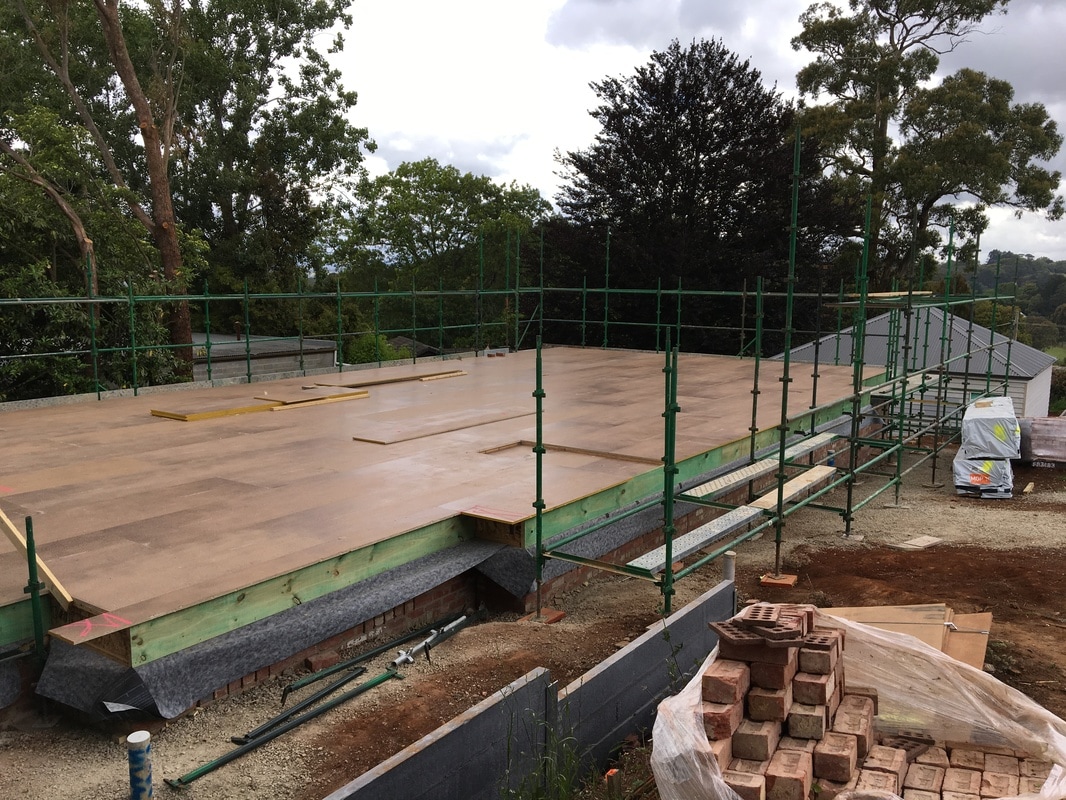 |
Who we areDevin & Suzanne are building a family home using a Passive House method. Categories
All
Archives
December 2018
|


 RSS Feed
